
How-To
This page contains a few brief guides on how to accomplish things that aren’t specific to HL2VR itself (such as changes to Steam or SteamVR settings). Generally speaking, this means the SourceVR Mod Team doesn’t have control over how these things work. This is only meant to be helpful!
| Table of Contents |
|---|
| Beta Branches |
| Re-Binding Controls in SteamVR |
| Copying Bindings Across Game Titles |
Beta Branches
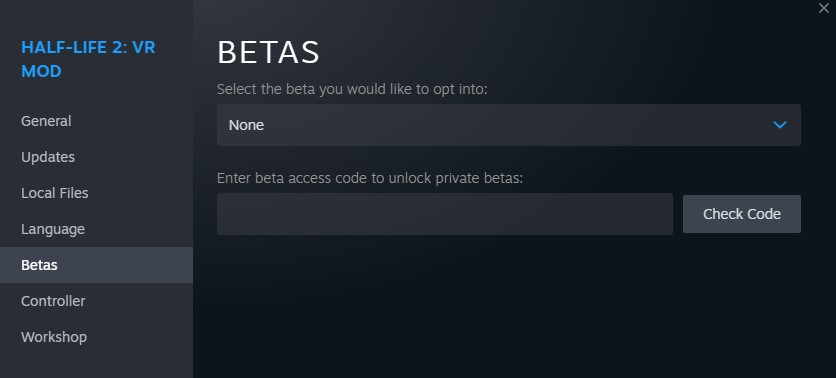
Branches, also known as Betas, are specific builds of a Steam app that has been made available publicly or privately by the dev team. To switch to a custom branch in the Steam client, right-click on the game from your Steam Library and select “Properties”. Among the available tabs will be the “Betas” tab. On this tab, you’ll find a dropdown menu with these available options under “Select the beta you would like to opt into”:
None - The default branch, intended for stable releases. Recommended for most users.
testing - Typically updated with new patches a day or two before public release to the default branch. Mostly intended for playtesters, and may not be stable.
previous - Rolls back to the previous public release. This shouldn’t be useful for most users unless a new update introduces a game-breaking issue.
3.0 (AKA “TNG”) - A beta branch with improved visuals, including updated lighting and upscaled textures.
This branch is a work in progress, it is not considered a stable release, and there is currently no ETA for its completion. For this reason, it is passworded to prevent accidental usage. The beta access code is: bleedingedge2
Re-Binding Controls in SteamVR
Editing controls for HL2VR is done via SteamVR’s built-in Controller Bindings menu. With the game running, open the SteamVR overlay and select “controller bindings”, then select Half-Life 2: VR Mod.
HL2VR, HL2VR Episode 1, and HL2VR Episode 2 are each considered separate titles, and changes to one do not carry over to the others.
Official presets
HL2VR offers two default control presets. The only difference between them is how vehicles control.

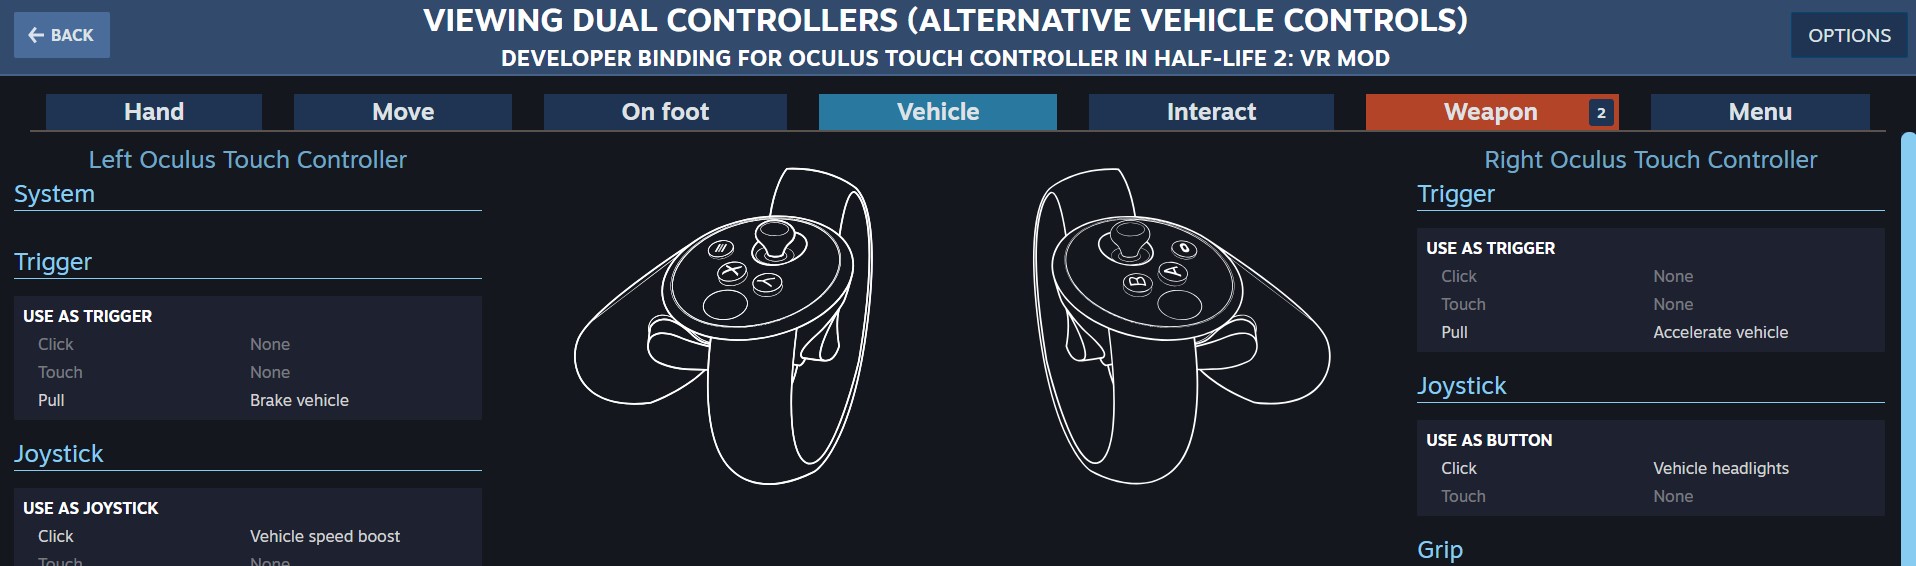
The “alternative vehicle controls” preset moves the vehicle Accelerate and Brake off the stick and onto the two Triggers. For more details, see: Vehicle Accelerate/Brake
Community presets
Community Bindings are presets that other HL2VR players have created and shared. They can be used, or edited, just like Official presets.
Personalized changes
If none of the Official or Community bindings presets work for you, you can edit the SteamVR controller bindings to adjust controls to your liking.
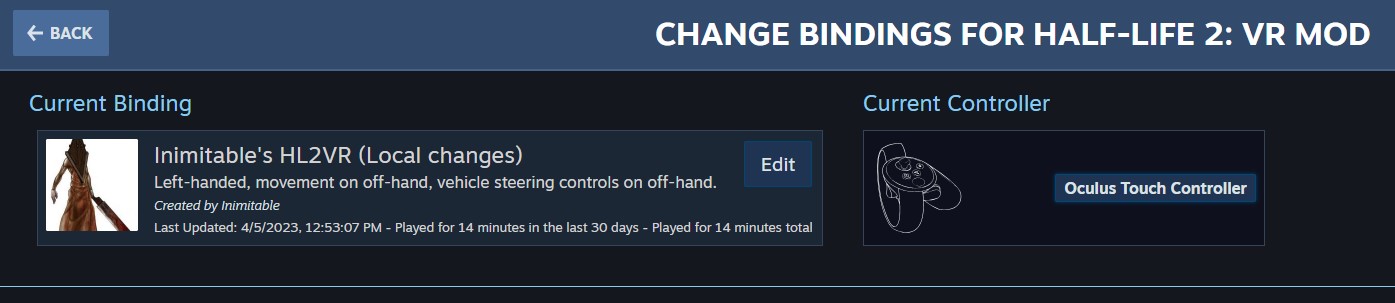
Details on how to use SteamVR Controller Bindings is outside the scope of this page, but if you’re unfamiliar with it you can find plenty of help through Google or the Steam community.
Vehicle Accelerate/Brake
The default preset uses your movement hand (off-hand) stick to control vehicle acceleration (up), braking (down), and steering (left/right). Vehicle weapon fire is bound to primary-hand Trigger.
The “alternative vehicle controls” preset changes vehicle Accelerate and Brake to primary-hand Trigger and off-hand Trigger, respectively. Vehicle weapon fire is bound to primary-hand B (or Y).
You can use the Controller Bindings menu to move vehicle accelerate/brake anywhere you like. However, you’ll want to keep in mind that binding either Accelerate or Brake vehicle options will un-bind both from your movement stick up/down. So you’ll need to assign Accelerate and Brake options.
Left-handed players: SteamVR is not aware of the in-game changes that swap your primary hand from right to left hand. Thus, if you want to put Accelerate on your right hand trigger, you’ll need to assign it to the left hand trigger in SteamVR.
Copying Bindings Across Game Titles
Steam considers Half-Life 2 VR Mod, HL2VR Episode One, and HL2VR Episode Two as separate titles (just like the flat versions). Thus, your SteamVR bindings do not automatically carry over from one to the other. So if you’ve changed your bindings from the defaults, and want the others to use the same, you’ll need to manually copy them over to the other titles.
Your custom bindings are stored in My Documents\steamvr\input
The binds have a name of steam.app.[App ID]_[Controller].json. (For example, HL2VR Oculus bindings file would use steam.app.658920_oculus_touch.json)
| Game | App ID |
|---|---|
| Half-Life 2 VR Mod | 658920 |
| HL2VR Episode One | 2177750 |
| HL2VR Episode Two | 2177760 |
- Make a copy a copy of the file corresponding to the game you’ve already customized.
- Rename it to use the new App ID.
- Open and edit the new copy and change the “app_key” to reflect the new App ID. (For example, steam.app.2177750 )